
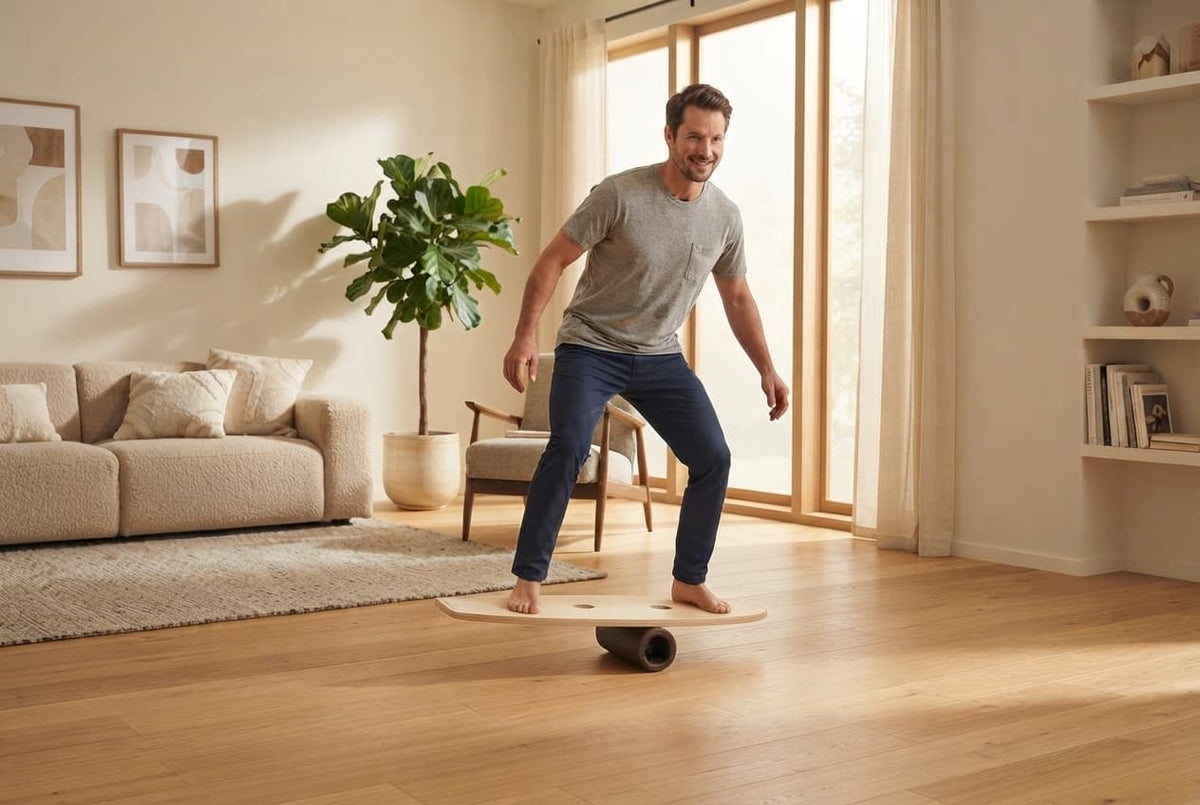
A Balance Board looks simple, but it challenges your whole body: feet, legs, core and concentration all work together. So that you don't just step on and wobble, but get better step by step, here are 15 Balance Board exercises, ordered from easy to hard – for beginners and advanced users.
Before you start: surface, support and health conditions
A little preparation will save you the first falls:
- Soft surface: Use the board on a yoga mat or cork mat at first, with plenty of space around you. You will feel more in control and protect both board and floor.
- Support nearby: As a beginner, it is best to practise next to a wall, a door frame, a handrail or with a second person.
- Take your time: Approach the movement slowly. When getting on, safety matters, not speed.
Important: Training on the board is at your own risk. If you have acute pain or infections, osteoporosis, thrombosis, circulatory weakness, high blood pressure, soft-tissue rheumatism or an increased risk of bleeding, please talk to your doctor first.
The four levels: what goes under the board determines the difficulty
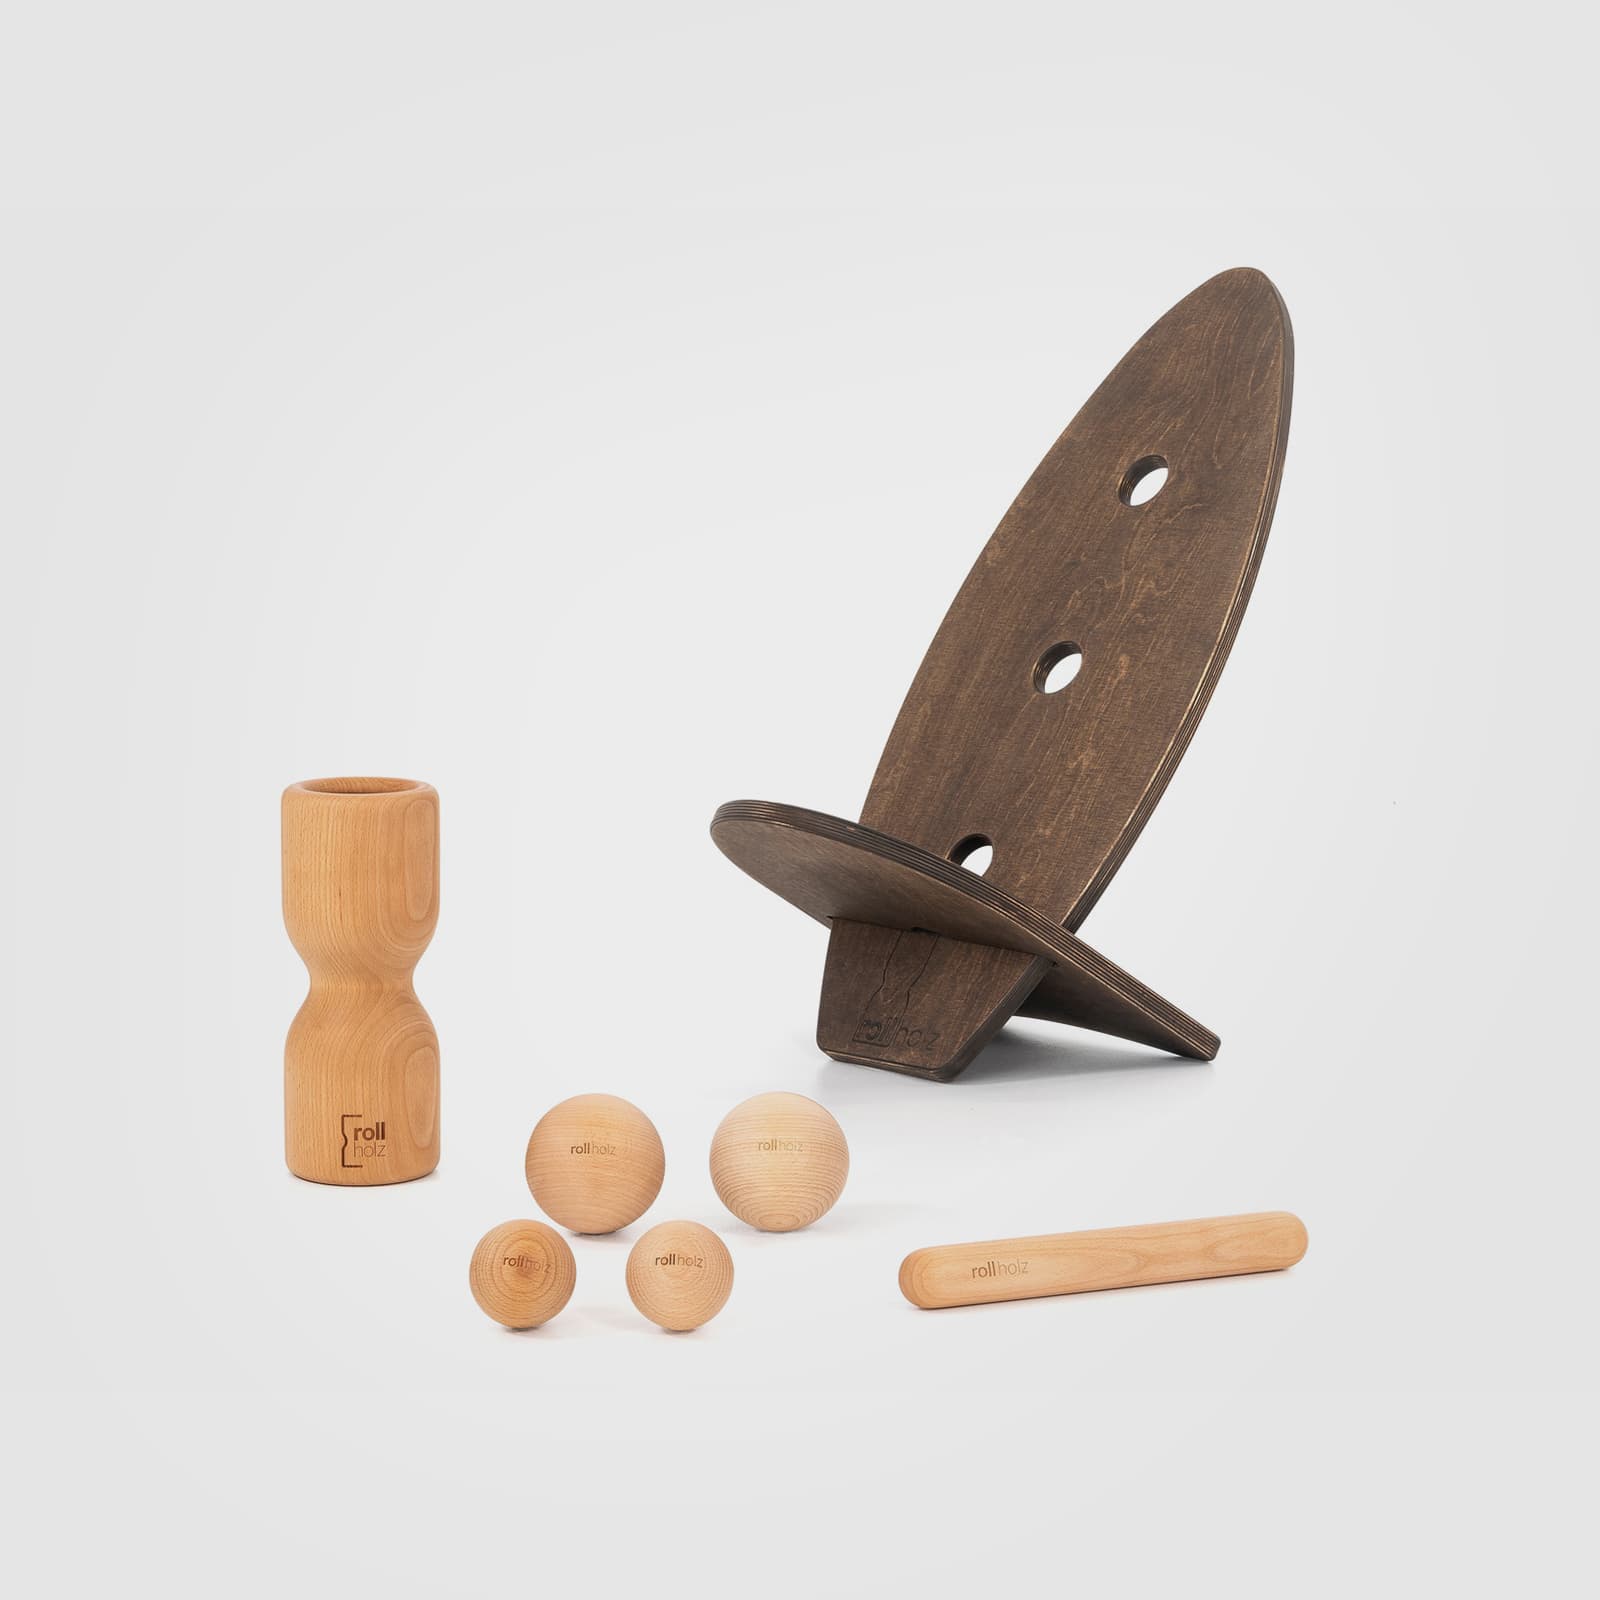
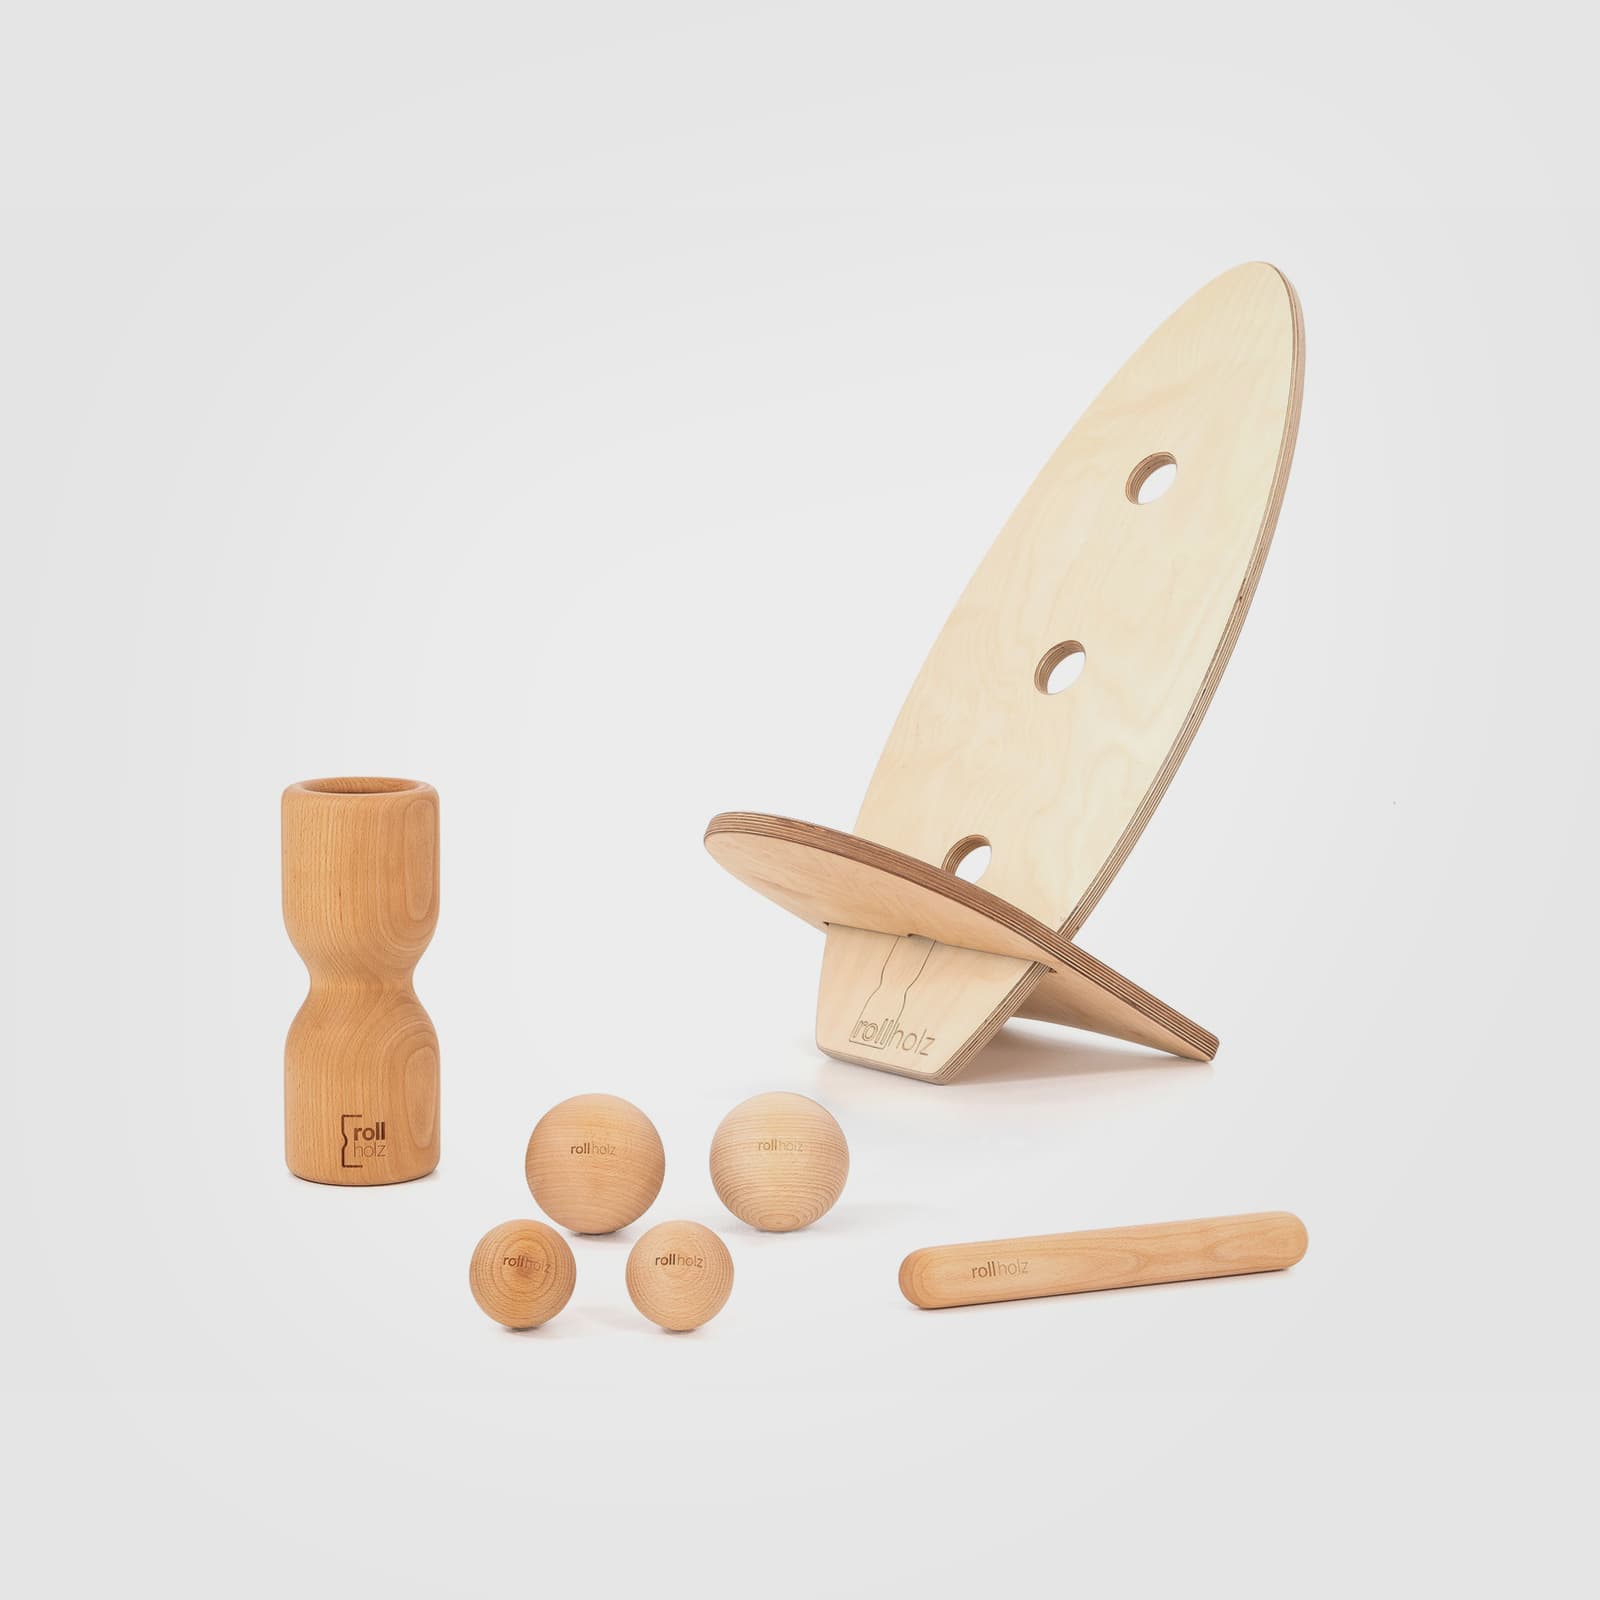
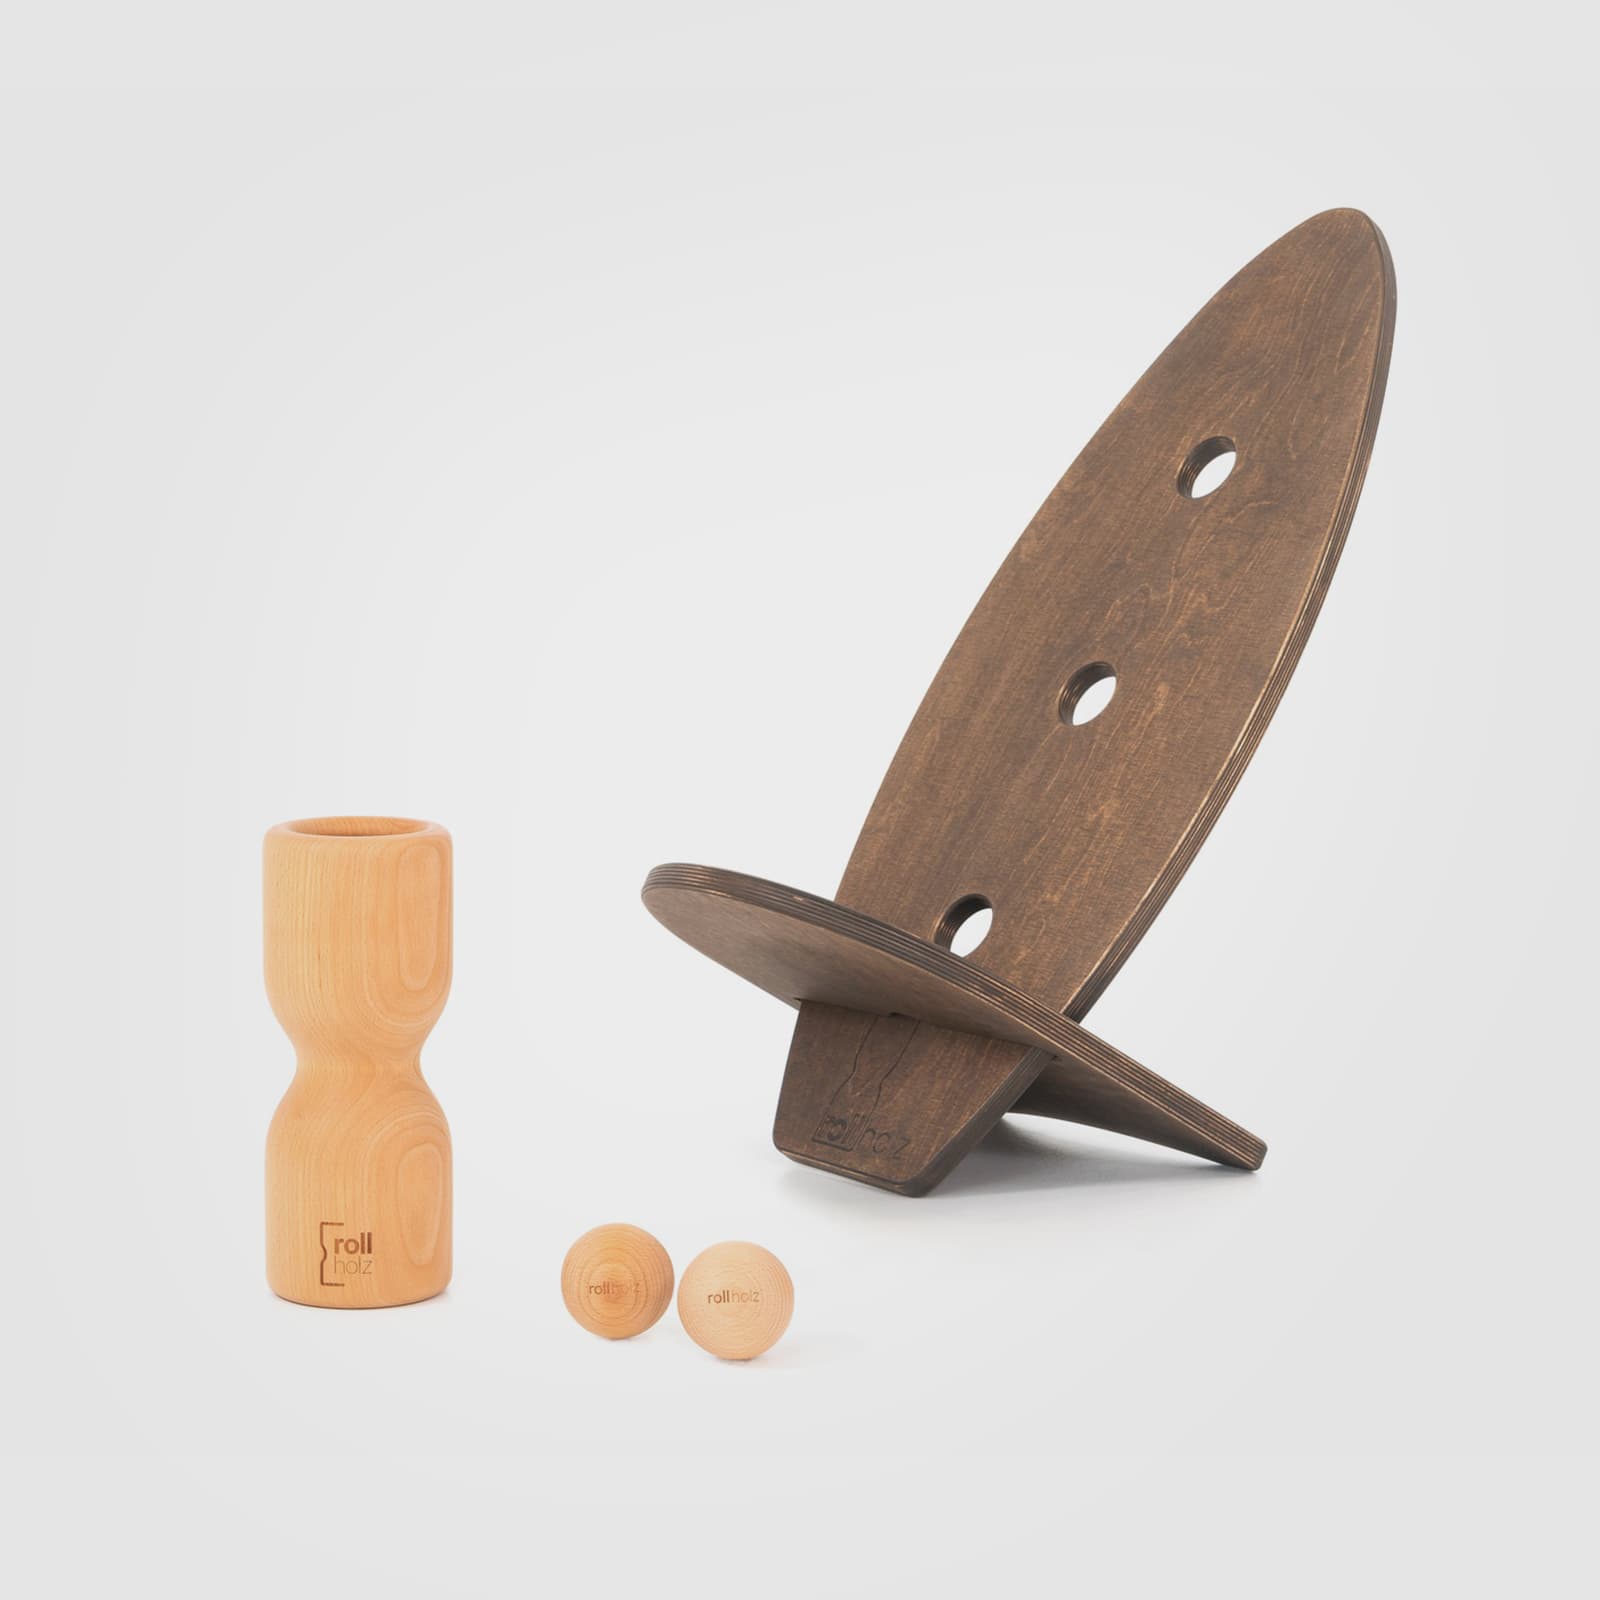
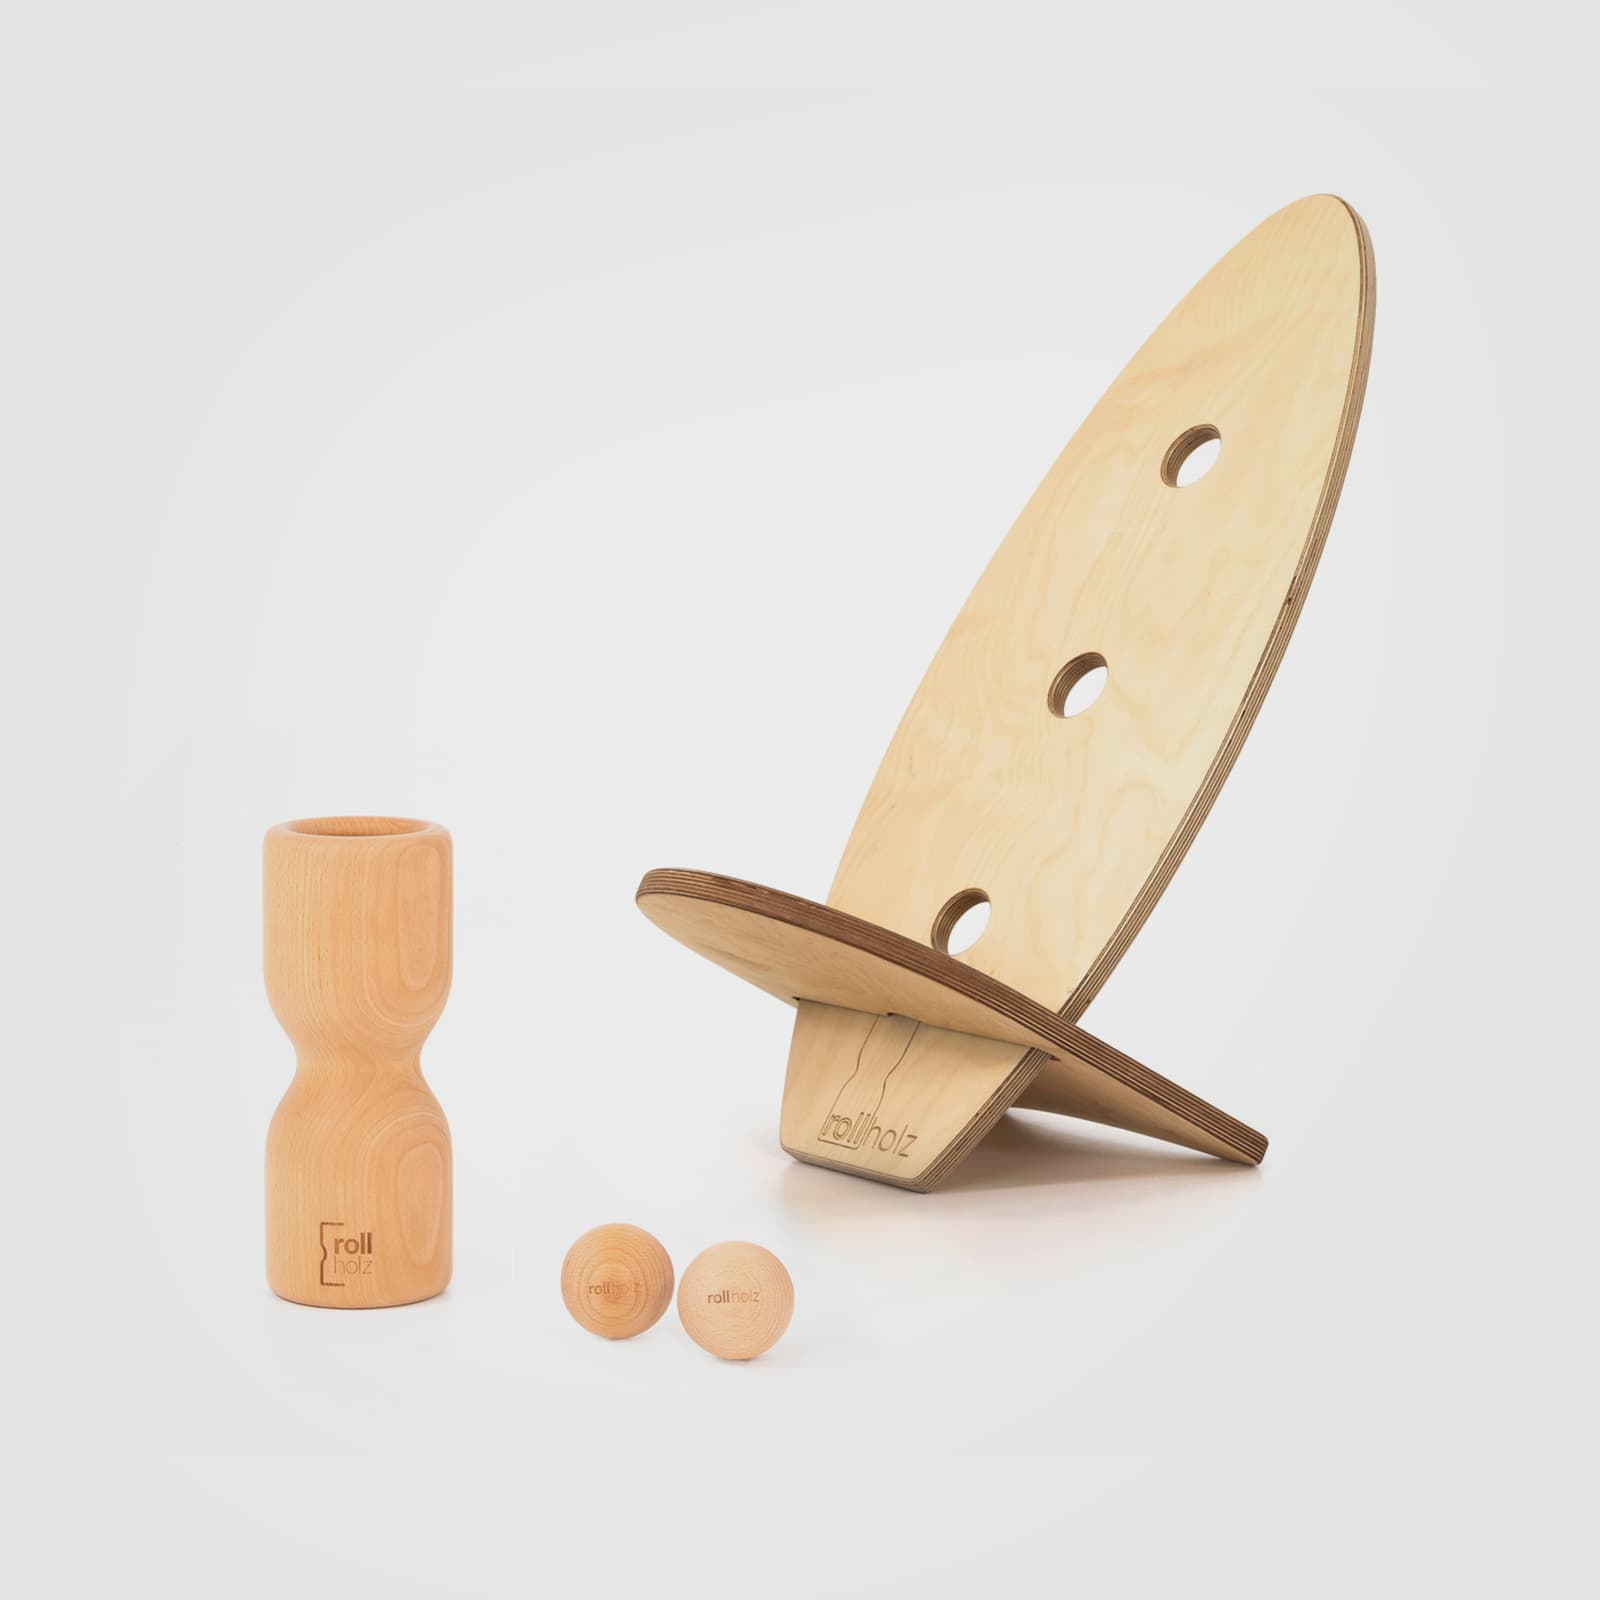
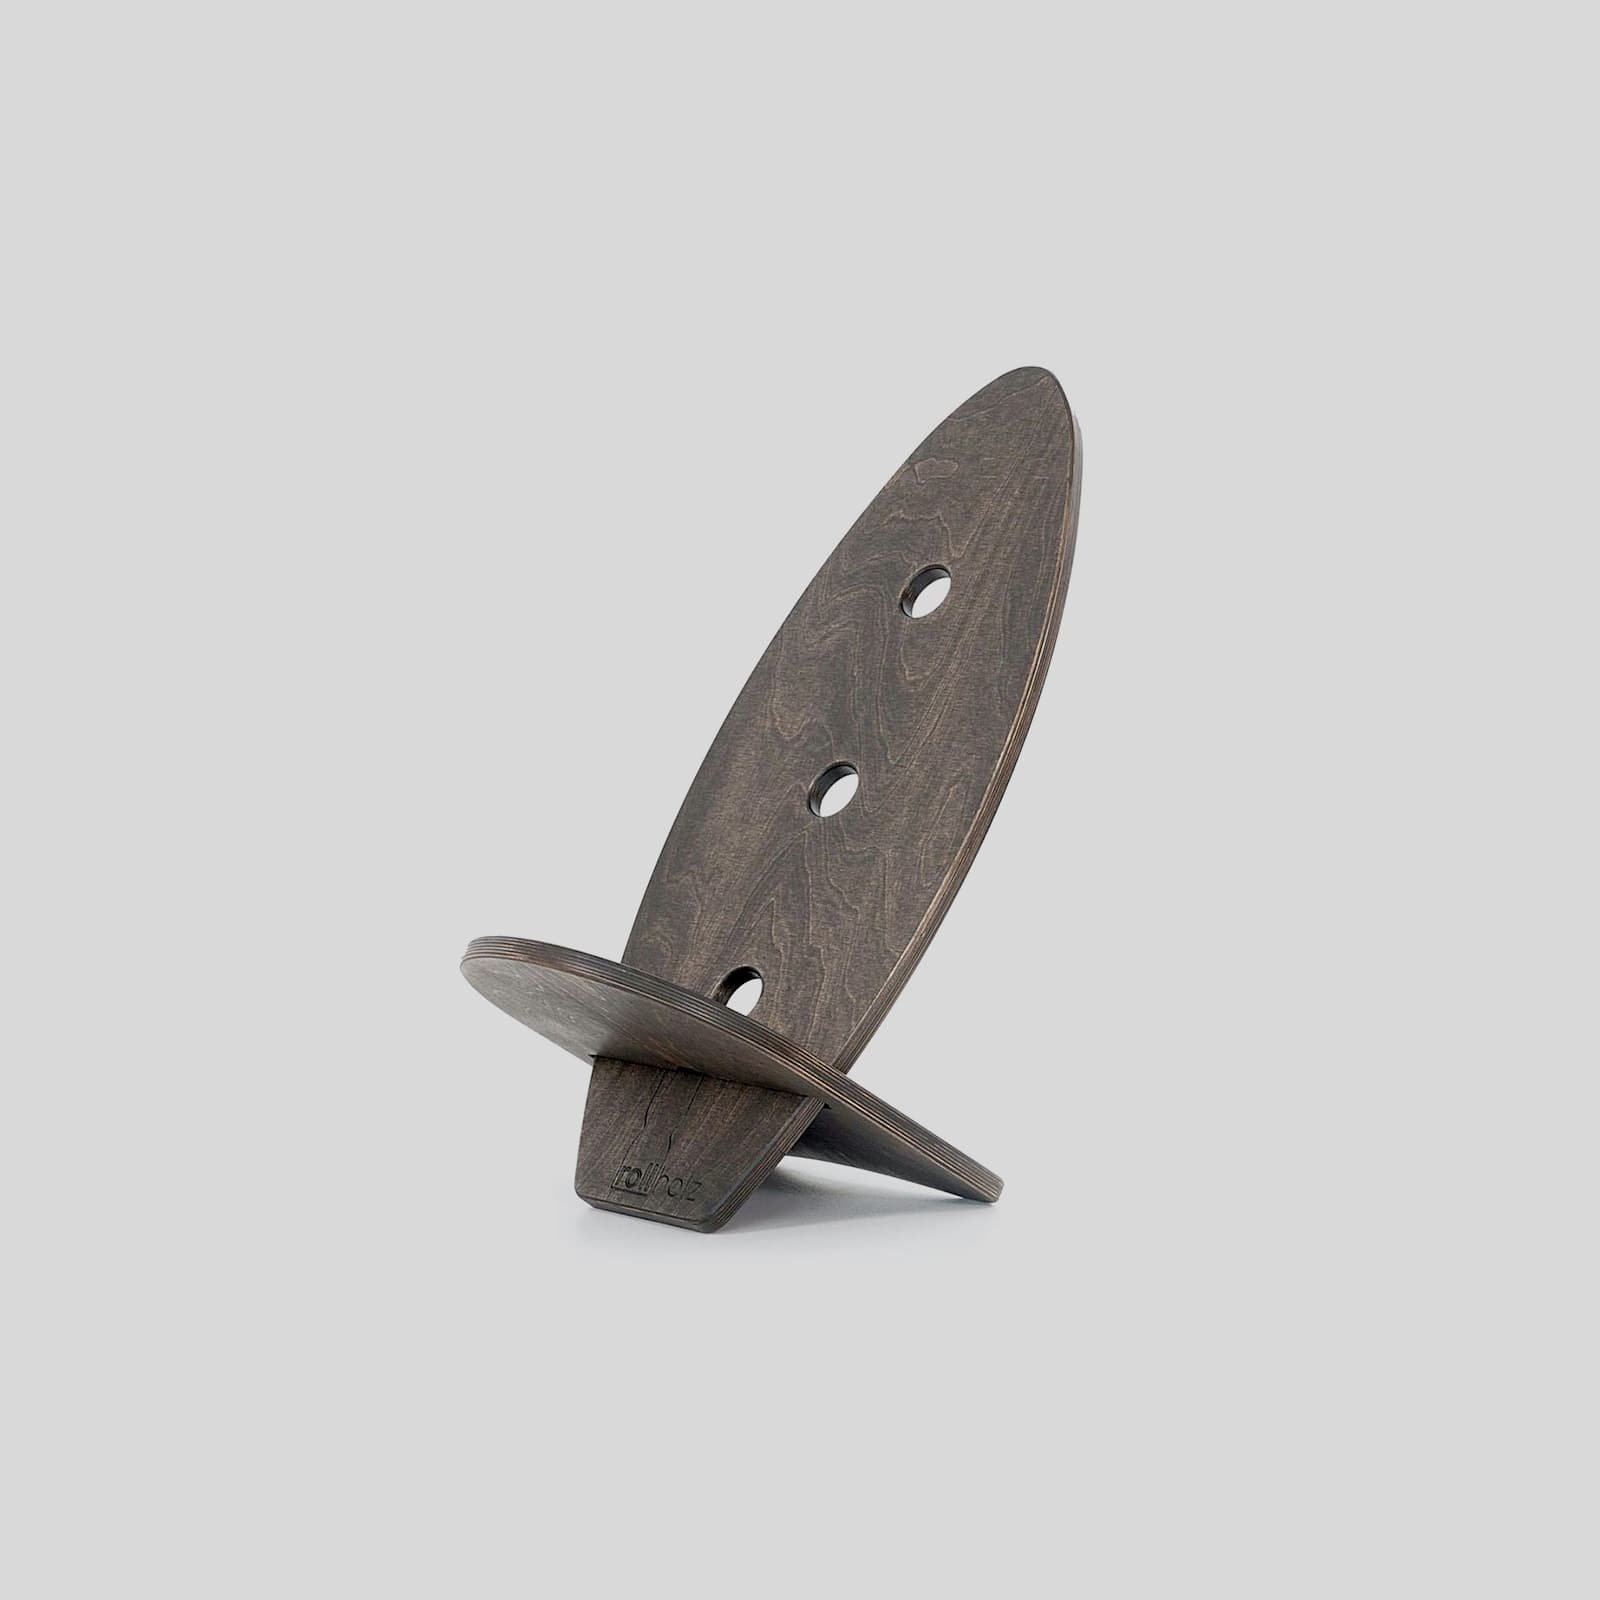
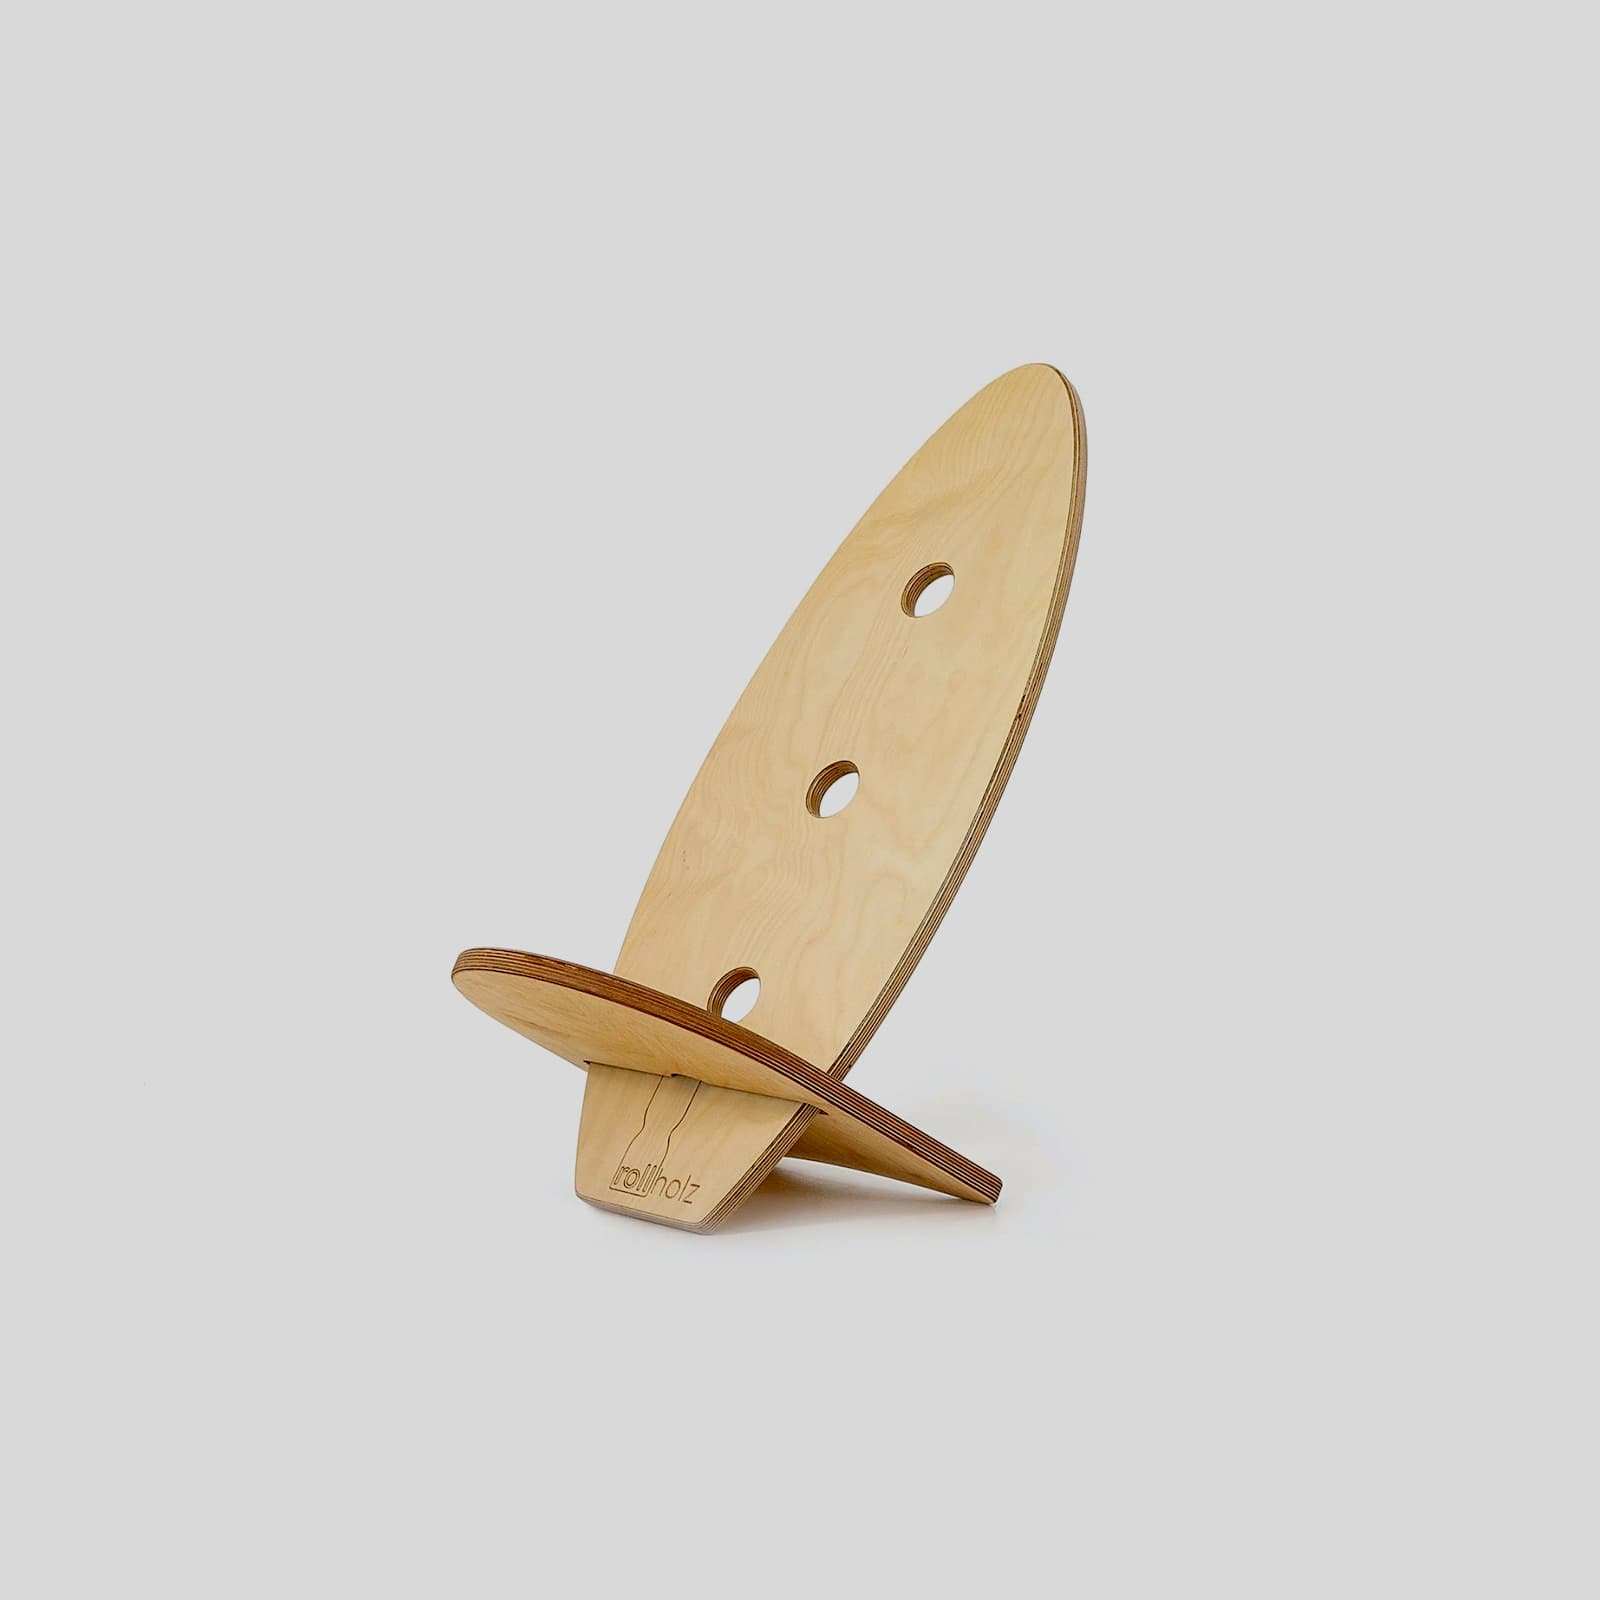
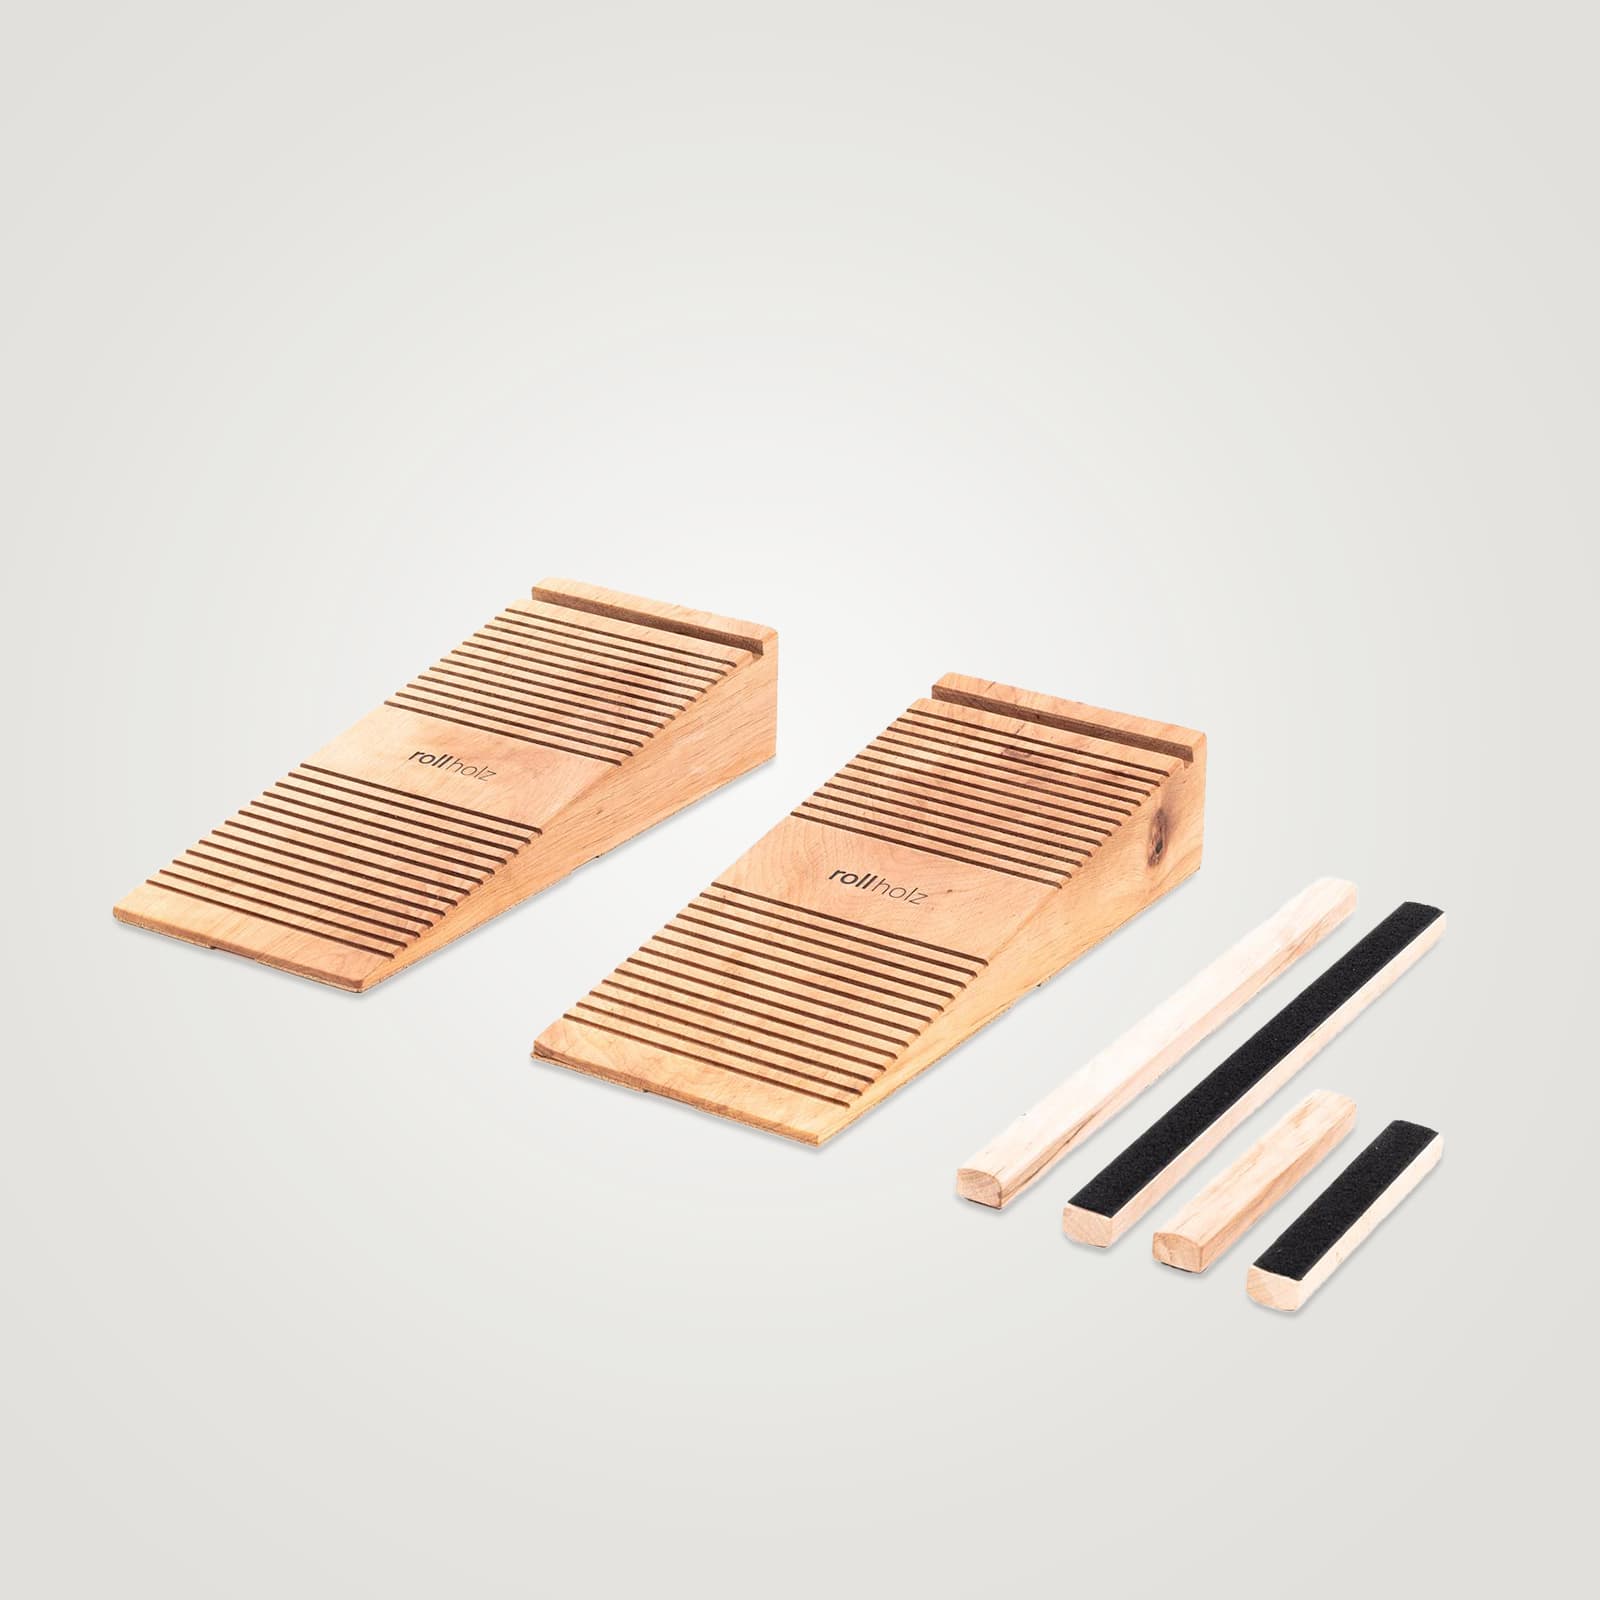
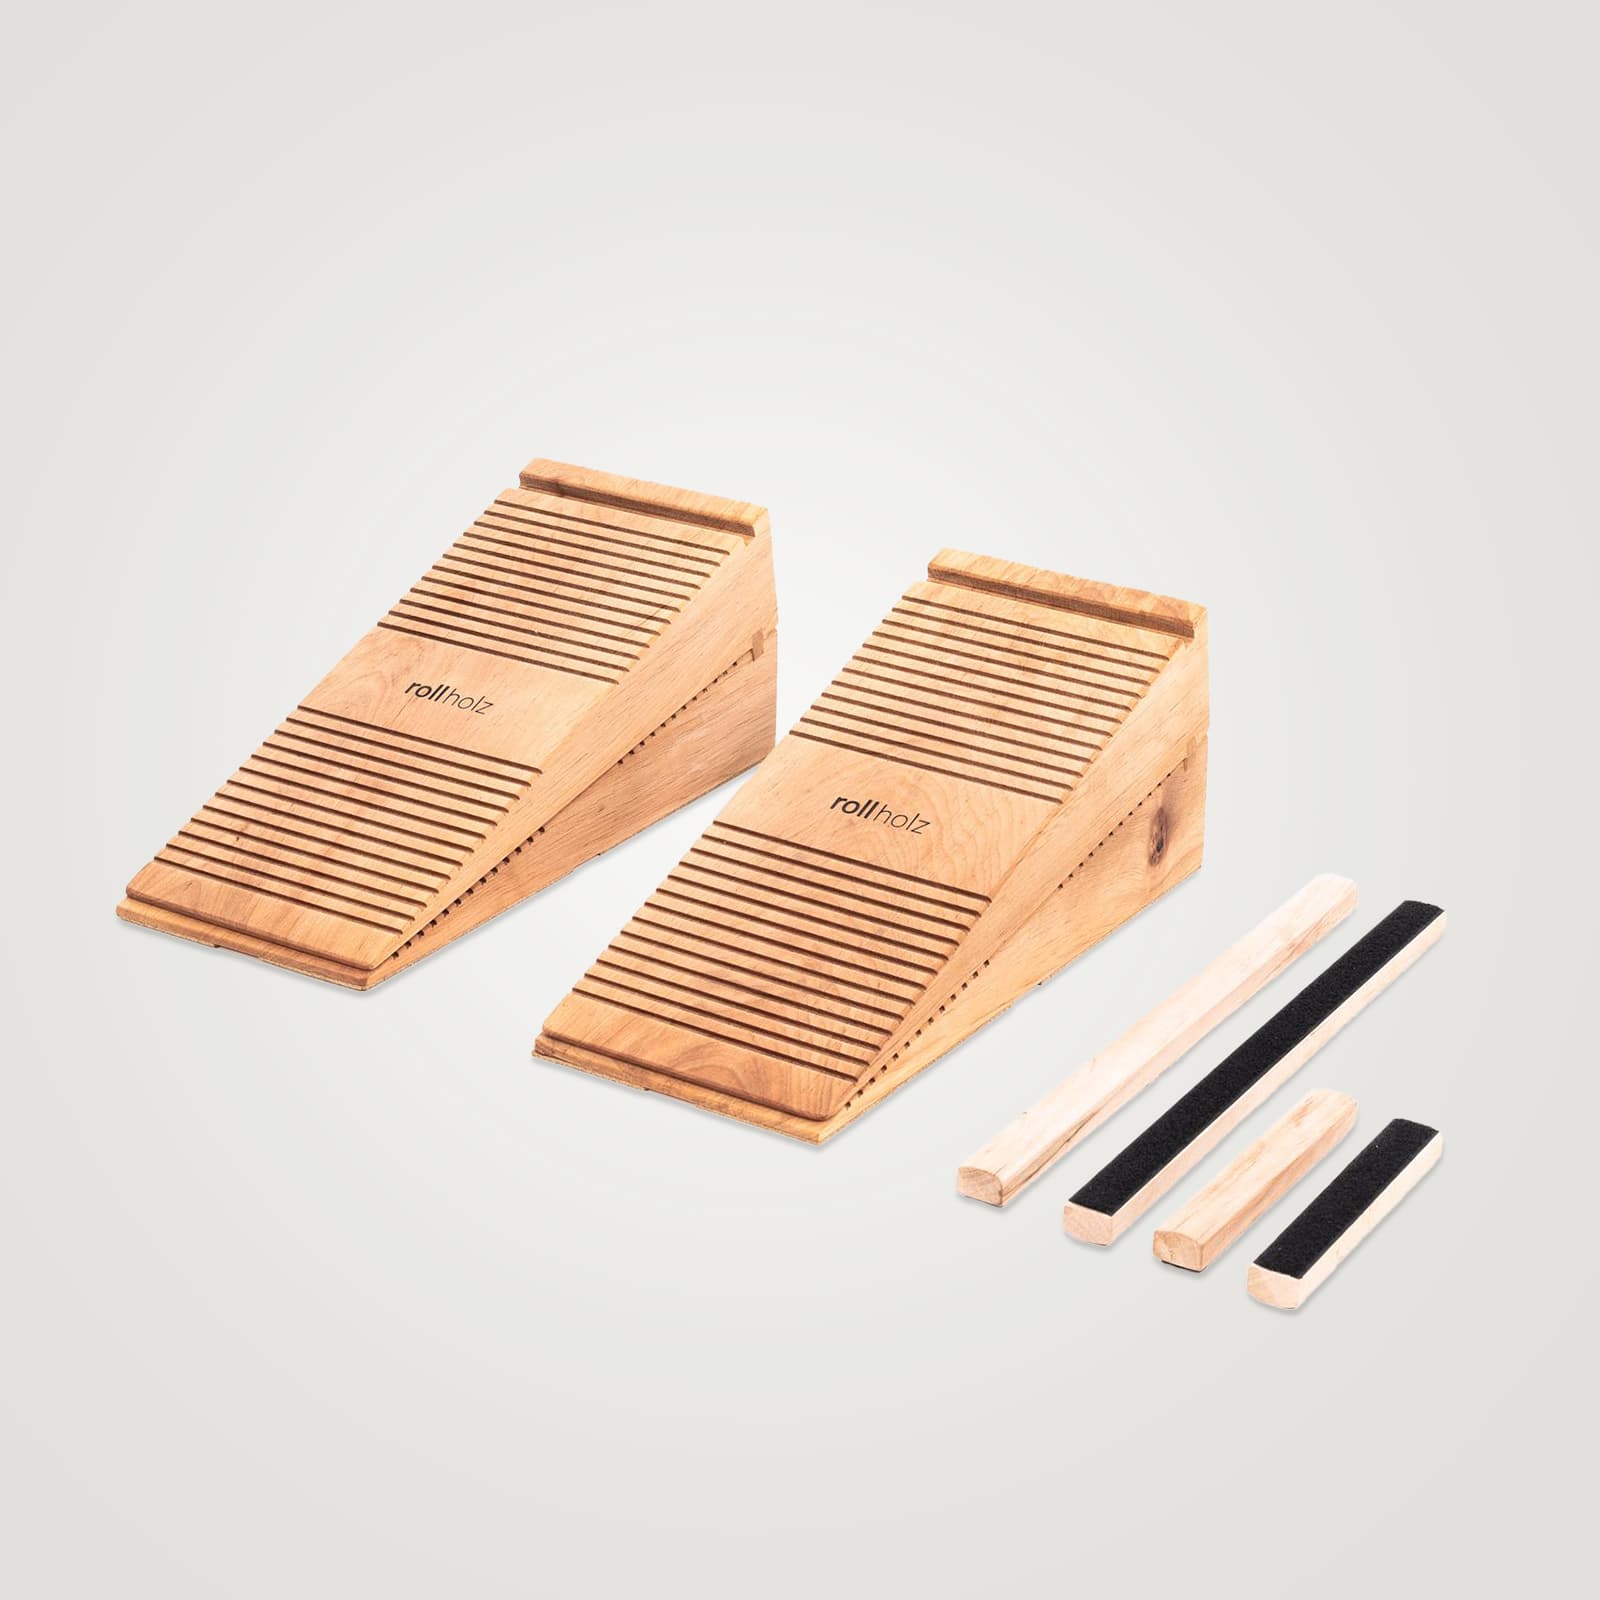
The rollholz Balance Board consists of two boards: the large board with three holes and the small board with the slot, which also has a hole in the middle. In both cases the accessory underneath stays firmly in place, only the movement above it changes:
- Mini roller in the slot of the small board: The mini roller sits firmly in the slot, the board only rocks forwards and backwards, stays close to the floor and is very forgiving. The calmest way to start.
- rollholz Pro under the large board: The rollholz Pro lets the board roll freely back and forth. A dynamic, almost surf-like feeling.
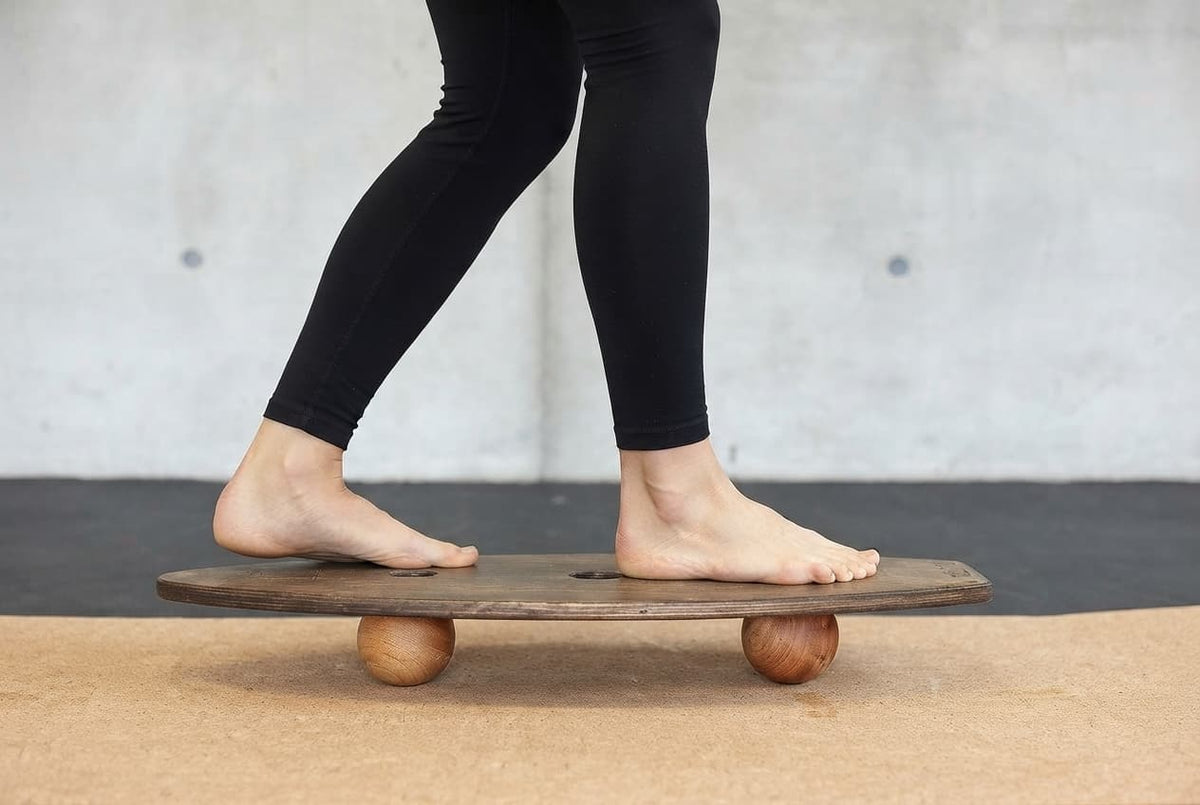
- Two balls under the outer holes of the large board: The board only tilts around one axis, so you only have to stabilise in one direction. Ideal for the ankle and easier than a single ball.
- One ball in the middle hole: Fits both the large and the small board and tilts in all directions there, which makes it the most demanding level. In the small board it is especially suited to exercises seated, on your knees or in a support position, because the standing surface is more compact.
With the balls, this also applies: the 7 cm balls sit lower, so the board tilts less. As a rule they are enough to train ankle stability. The 10 cm balls are taller, so the board tilts more and has more range of motion. That is harder, but it gives you more core work, for example in the plank or the bridge.
All levels and accessories are included in the sets: in the Balance Board Set Small (board, rollholz Pro, two balls Ø 7 cm) and in the Balance Board Set Large (plus mini roller and two balls Ø 10 cm).
The basics: getting on and balancing
Exercise 1: Getting on


- Place the roller or the balls under the board. With the roller, put your first foot on the end that touches the floor. With two balls, first step on above one of the two balls, where the board stands stable.
- Place your second foot on the other end. This is the starting position.
- Carefully shift your weight onto the second foot until the board is level.
Tip: Pick a fixed point in the room and focus on it. This helps your balance.
Exercise 2: Balancing

Bend your knees slightly, build tension in your legs, glutes and core, and try to make the board roll back and forth by shifting your weight slightly from right to left. Variation: hold the board as still as possible in the middle with small corrections. Look straight ahead.
Standing exercises
Exercise 3: Squat

Step on, find your balance and slowly go into a squat. Keep your back straight and don't let your knees fall inwards. Your arms help you balance; alternatively, stretch them out in front of you at chest height.
Exercise 4: Tandem stance

Stand parallel to the board. Place your first foot on the side that touches the floor, then your second foot behind the first, so that both feet are in a line in the rolling direction. Try to keep both ends of the board in the air. Make sure the back foot does not touch the board with the heel. With two balls, the balancing comes almost entirely from the ankles.
Exercise 5: Lunge

Take a lunge step and place the front foot in the middle of the board, while the back foot stays on the floor. Keep your upper body upright, look straight ahead, and use your arms for balance or put your hands on your hips. Bend both knees and try to bring the back knee to the floor. Then slowly come back up.
Exercise 6: Hand to the board

From the squat, try to grab the board with one hand and balance in this position. For the ambitious: turn your feet so that you stand parallel and look in the same direction as in the tandem stance.
Exercise 7: Small range of motion

Step on as in the tandem stance. Shift your weight more to one side and thereby reduce the swing range. Then gradually place the back foot next to the other. You now keep your balance only through small impulses.
Exercise 8: 90° turn

Step on and turn the board by 90 degrees on the roller so that it lies parallel to the roller. Either in one swing or in several small steps. The turn comes from the hip, your feet stay firmly on the board. A swinging turn demands a lot of coordination and reaction speed.
Exercise 9: Standing scale

With the small board and the mini roller: place one foot in the middle of the board and shift your weight onto this standing leg. Lean your upper body forward and lift the back leg into the air. Arms spread out horizontally help you keep your balance.
Support exercises
Exercise 10: Push-up

Place your hands slightly wider than shoulder-width on the board. Stabilise your shoulder girdle, core, glutes and legs so that you don't sag into a hollow back. Your head continues the line of your spine. Take your time to find your balance so that both ends of the board are in the air. When that works, try a push-up. Breathe evenly.
Exercise 11: Plank

Place your forearms parallel and about shoulder-width apart on the board. Stabilise your core, glutes and legs, with your head in line with your spine. Hold the position for about 30 seconds at first. For the ambitious: alternately lift one foot with the leg extended.
Exercise 12: Side plank

With one ball under the board, place one forearm on the board and get into the side plank, either with your knees on the floor or in the full lever. Make sure your hip does not sag. Hold the position for about 30 seconds. Once it works safely, lift the top leg.
Kneeling and sitting
Exercise 13: On your knees

Place the roller in the middle under the board and step on with both knees slightly wider than hip-width. Use your hands to help you get on so that the board doesn't slip away. Bring your hips forward, stabilise your glutes and core, and keep your balance with your feet in the air.
Exercise 14: Seated

Sit in the middle of the board and hold on with your hands at first. Then lift your feet off the floor and hold them in the air, looking straight ahead. Can you also take your hands off the board? Hold the position for as long as possible.
Lying down
Exercise 15: Bridge

Lie down on a mat with your arms beside your body. Place both feet on the ends of the board and bring it into balance. Then slowly lift your hips until shoulders, hips and knees form a line. Breathe evenly. Once it works safely, you can extend one leg alternately.
Another option is lying on your stomach: hips and breastbone rest on the board, your toes stay on the floor. From this position you can do swimming movements or lift your arms and legs off the floor.

How to progress: your plan for the first four weeks
Start with short sessions of 5 to 10 minutes, two to three times a week. Quality beats duration: as soon as you get wobbly and lose your posture, stop.
- Week 1: Getting on, balancing and squat with the mini roller or the rollholz Pro. Always with a wall or handrail within reach.
- Week 2: Tandem stance and lunge, plus plank and bridge on the mat.
- Week 3: Two balls (Ø 7 cm) under the board: getting on, squat, tandem stance. This is where you specifically train the ankle.
- Week 4: Push-up and seated, and if it works, a single ball.
Balance Board for families: from 3 years
Rocking and balancing is fun for children too, and the board offers a calm way to start. For children from about three years old, the small board with the mini roller is suitable, because the roller sits firmly in the slot and the board only rocks forwards and backwards. Two balls under the large board are also safe, because it then only tilts in one direction. Put together, the two boards become a lounge chair where the little ones can rest afterwards. The Balance Board is sports equipment, not a toy: children always practise under adult supervision and on a soft surface.
Frequently asked questions
How often should I train with the Balance Board?
To get started, two to three sessions per week of 5 to 10 minutes are enough. As you grow more confident, you can practise longer or more often.
Barefoot or with shoes?
Barefoot or in thin socks you feel the board best. Make sure you don't slip.
How long does it take to find my balance?
That varies a lot. Many people manage balancing with the mini roller after a few sessions; with a single ball it often takes much longer. Patience is part of the training.
Which accessories do I need?
To get started, the board and a roller are enough. If you want to use all levels, you are best equipped with the Balance Board Set Large. You can find an overview of all variants in our range of Balance Boards.
Further reading
You can read how the ankle benefits from training in Proprioceptive Training for Ankle and Knee. For more core work: Training Core Stability with the Balance Board. And if you first want to find out which board suits you: Buying a Balance Board: the Guide.


Leave a comment
This site is protected by hCaptcha and the hCaptcha Privacy Policy and Terms of Service apply.